Wishing a Happy Independence Day to my American neighbours! Today only, special rates on my USA Pride print at Imagekind.com. Hope you all have a safe and happy holiday!
The online home and personal portfolio of Toronto photographer, Katie Gennaro

 To begin with - there were loot bags. The loot bags were filled with various party favours, but they served a dual purpose. When guests arrived at the party, their first task was to grab a loot bag (pink for girls, red for boys), and decorate it any way they wished - but it must have their name on it somewhere. The bag itself then became the place where the handcrafted card would be delivered to.
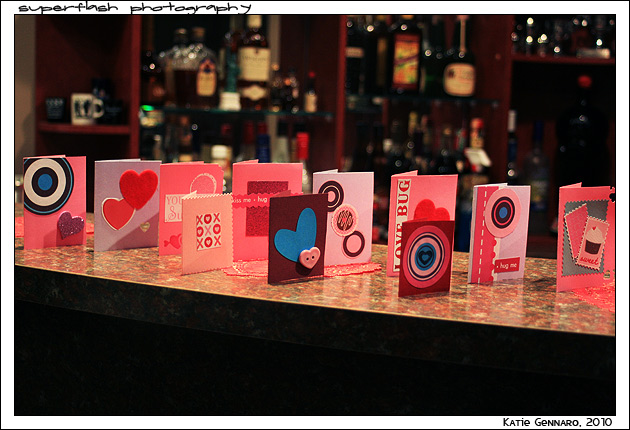 Amy and I had already decorated our own bags the night before (so that everyone could see an example), so while the guests were hard at work decorating, I began working on these mini-cards. I didn't really have any particular idea in mind, I just kept creating. Eventually I made enough for everyone, and they ended up being thank you's, that I dropped in everyone's bag - so they got two Valentine's from the party :)
 As soon as everyone was done their loot bags, we put all the guests' names on a slip of paper in a bowl, and everyone drew a slip. They were instructed to give it back if they drew their own name, otherwise the paper said "Create a card for: GUEST NAME." I thought this was a pretty cute idea, because a lot of the guests hadn't even met each other before tonight, so it was a good way to meet new people, and do something nice at the same time! I drew my friend Mat's name, and this is the card that I created for him.
 I thought it was really great that everyone, even the boys, were really enjoying just taking the time to be creative (I actually have a hilarious picture of a moment when everyone disappeared from the table to get food, except for two of the guys, who were busily crafting away!) Crafting & Card-Making is something that I do often, but I think it was a bit out of many peoples' realms, so it was neat to be able to share the evening and have everyone get into it.


 Coming down the stairs to the party, this is the first element of decor that guests saw. We had a pink tissue paper puff (made by my sister-in-law), and some vinyl hearts dangling from the ceiling, and pink, yellow and white (fake) flowers in a vase on the corner cabinet. Just a subtle taste of what was around the corner.
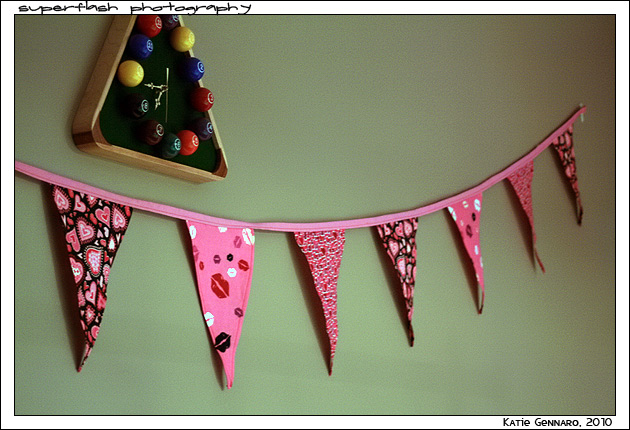 A little further into the basement is the billiards area. Amy sewed this fantastic bunting out of super cute pink fabric, and we hung it on the wall in front of the pool table. (Unexpectedly, the pool table didn't actually get used, because everyone was enjoying their crafts so much, so I'm afraid this wasn't as prominent as it should have been).
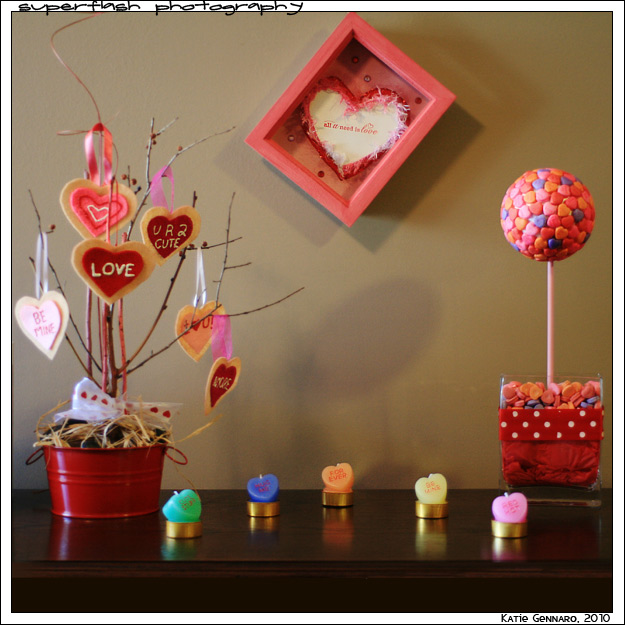 Towards the back of the basement, I had an area set up with the wii + Beatles Rock Band. Against the wall is a large chest, and this was the decor we set out on top of it. The Valentine's Shadow Box hangs on the wall. In front of it is a small Valentine's tree (which was created using the same method as the Easter Tree Centrepiece), with felt heart cookies, made by Amy. The Topiary is made out of Twilight-themed conversation hearts, and was made following this tutorial. Amy also found those super cute conversation heart candles, so we arranged them in front.
 I thought some people may find themselves wandering into the kitchen, for ice or cold drinks, or whatever... so I found a cute "love" themed magnetic poetry set at the dollar store, and put them on the fridge. I definitely found some interesting poetry the next day!
 Trace a heart template out of a scrap sheet of paper (I do this by folding a sheet of paper in half, and cutting half a heart, so that both sides are symmetrical. Take your template and trace onto the foam core, and cut out your heart. It doesn't matter if the edges are a little ragged, because they'll be covered by the fuzzy yarn, but try to get it fairly decent looking.
 Trace the background of your box onto the scrapbook paper of your choice (mine was a dusty rose, subtle print). Once you've cut it to size, use your tacky glue to glue it down into position.
 3. Go back to your foam core heart. Stamp your quote (or whatever you choose) in the centre. Mine is a cute little quote from one of my favourite songs ever. I also used a bit of red embossing powder, and fired it with my heat gun for a few seconds, to give it some texture.


