
Saturday, 15 August 2015
Visit the new superflash website
This blog is soon to shut down! Visit my new webspace at http://www.superflash.ca for my new blog, more photos, and an all around better experience!
Monday, 13 October 2014
Royal Wood @ Niagara Wine Festival
Before leaving for Newfoundland, I was super excited because I got to squeeze in one more Royal Wood concert at the Niagara Wine Festival in St. Catherine's, Ontario. The forecast that day initially called for rain, but it turned into a lovely afternoon of sunshine and music. Royal played two 45 minute sets with his 4 piece band, consisting of Dean Drouillard, Steve Zsirai and Mark Mariash. I'd say most of the songs were from The Burning Bright (and the I Wish You Well EP), with a few older songs thrown in for good measure. Here's some of my favourite shots:


More photos at Superflash Photography on Facebook.
More photos at Superflash Photography on Facebook.
Friday, 26 September 2014
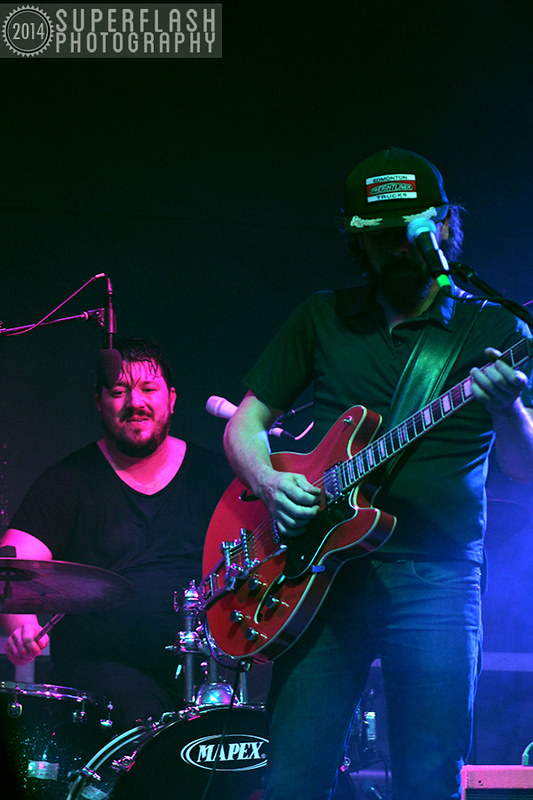
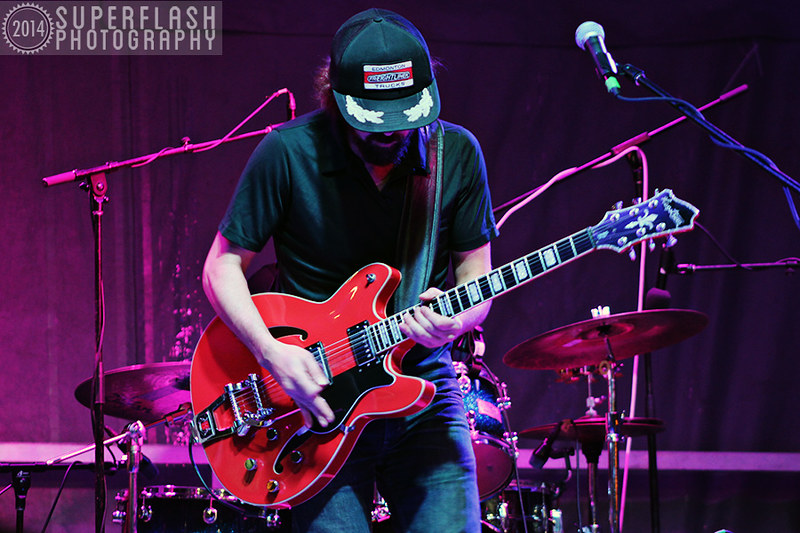
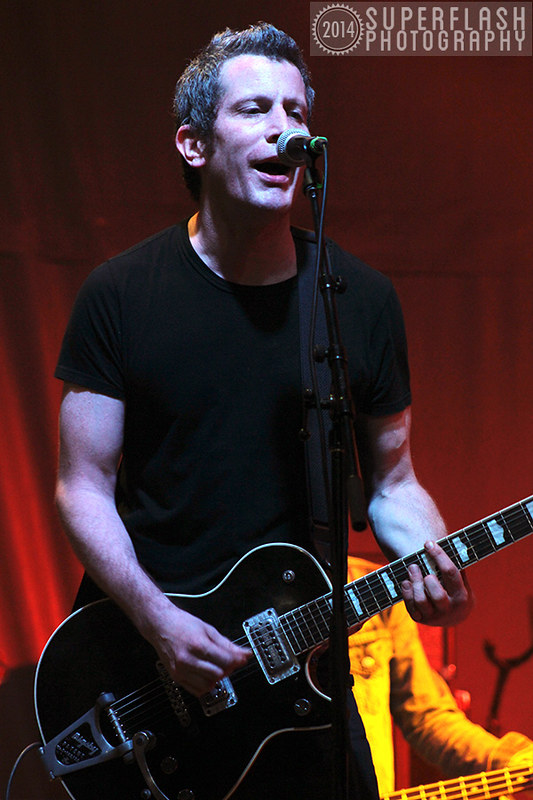
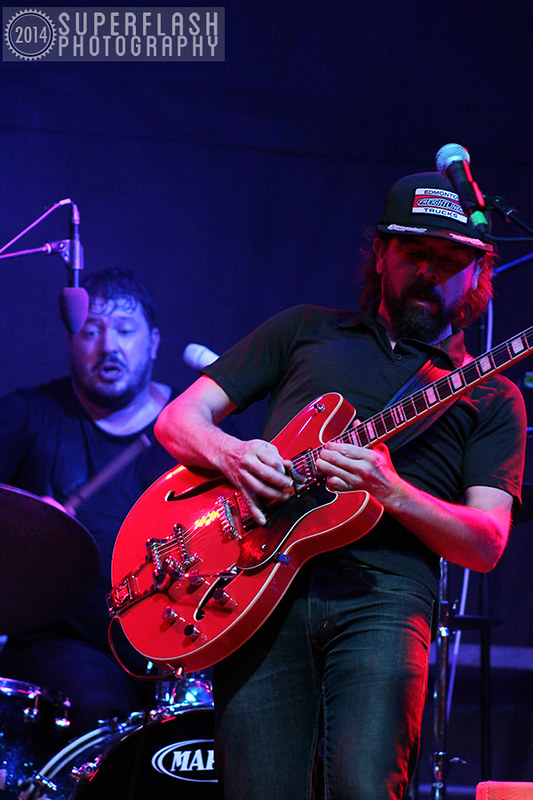
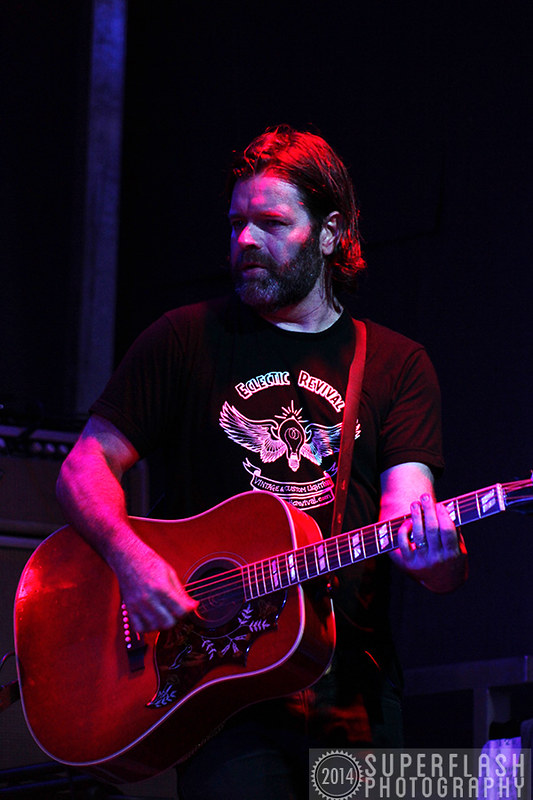
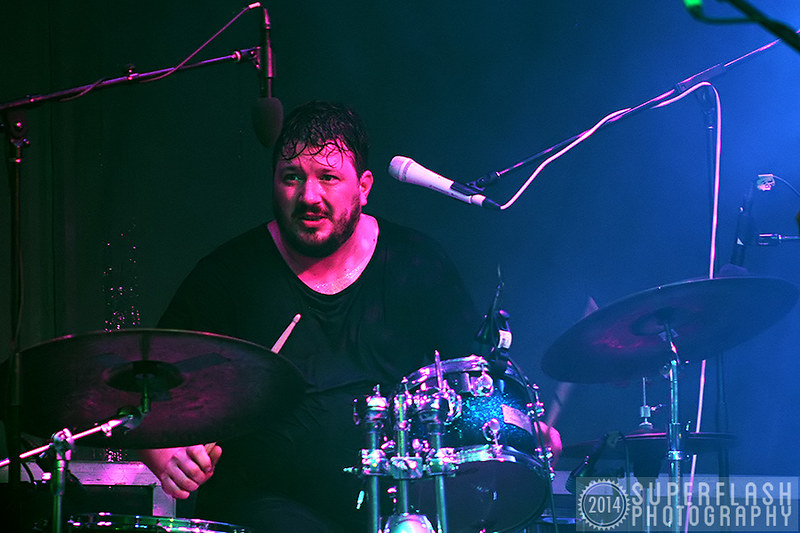
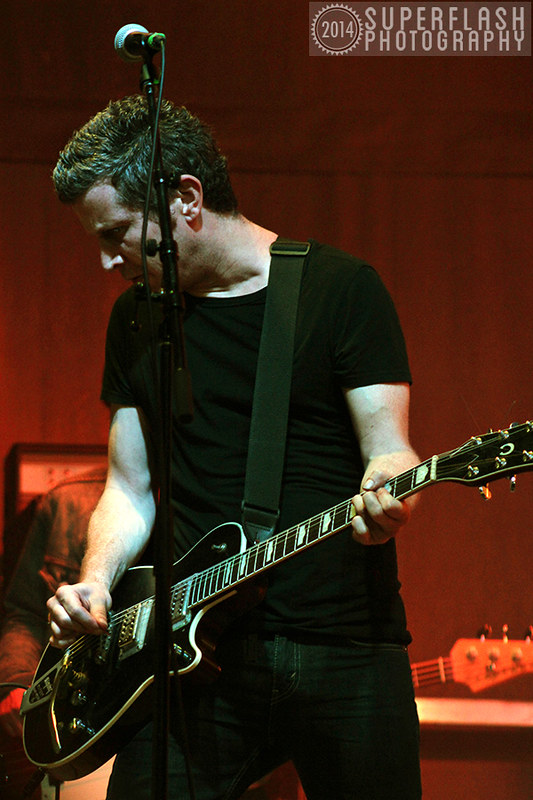
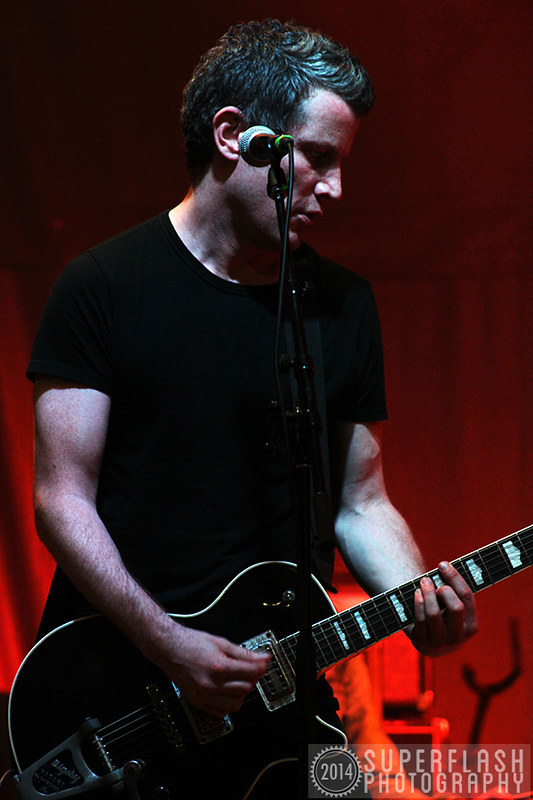
The Beauties @ Junction Music Festival
Last weekend, I had the chance to see local Toronto band, The Beauties at The Junction Music Festival. It was my first time attending the festival, and it was really cool. They only closed a small portion of the street, where the main stage was located, but there was stuff happening in all the shops, restaurants and alcoves along Dundas St. West. It looked like it was going to be a rainy night and I almost considered skipping the show, but thankfully the rain let up just as I was arriving to the stage area. This band is super awesome, and I highly recommend checking them out!
Like what you see here? Give us a like on Facebook!
Wednesday, 24 September 2014
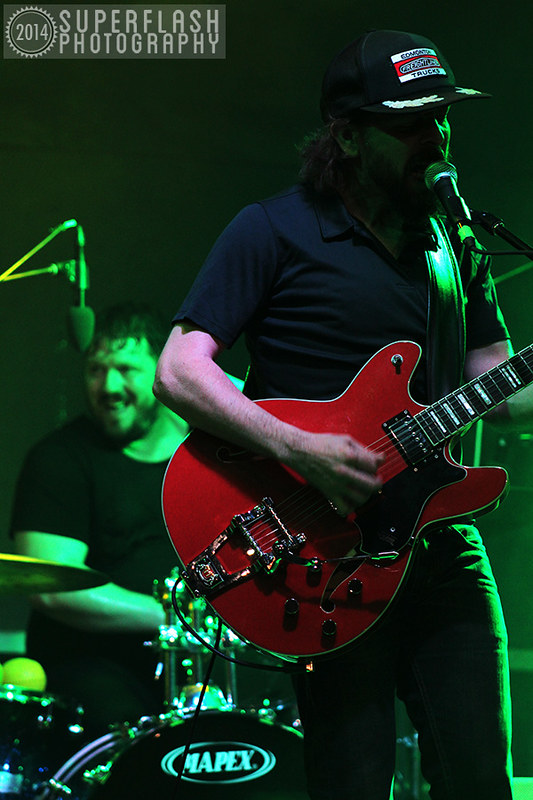
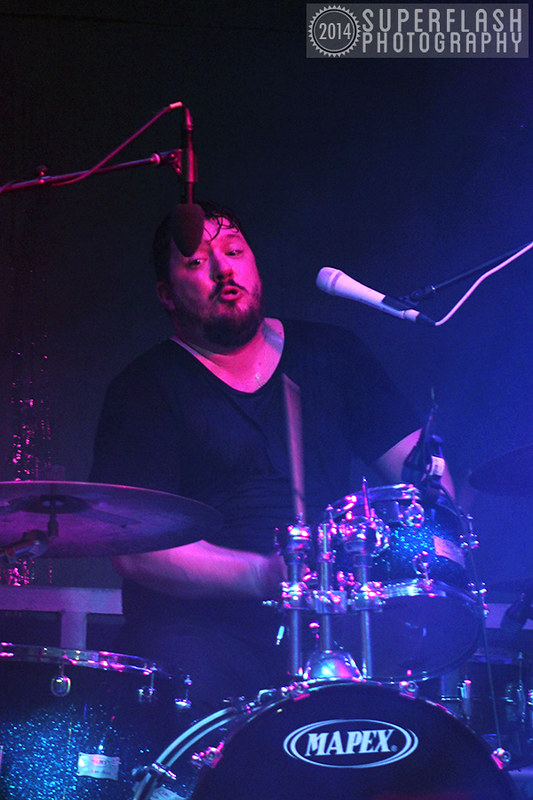
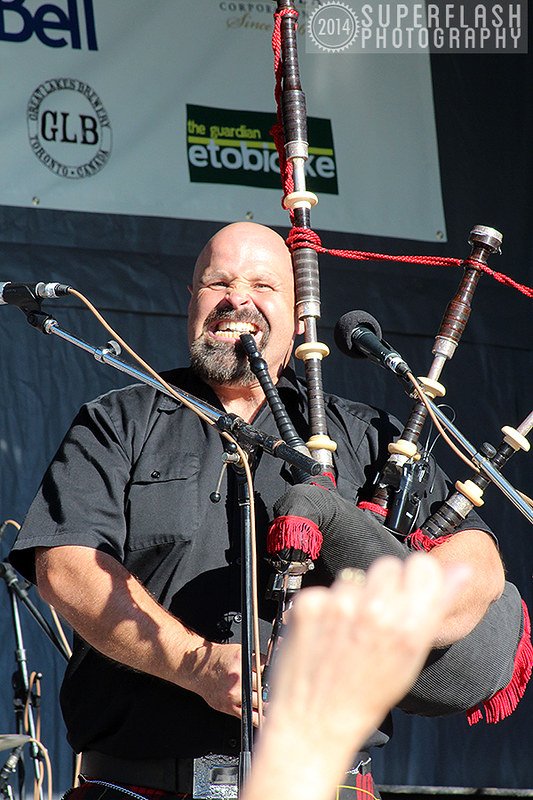
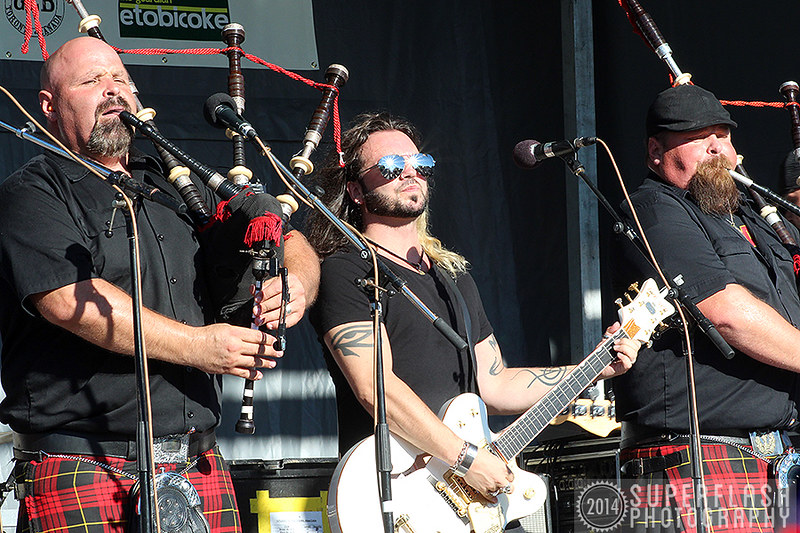
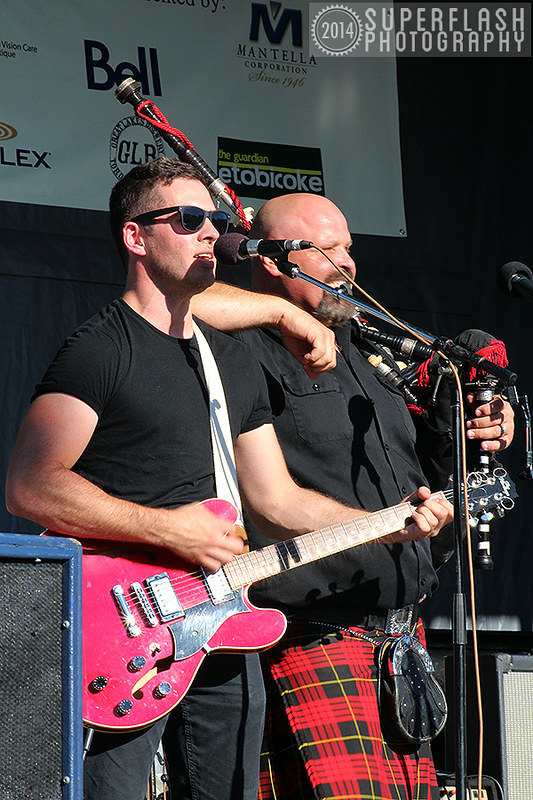
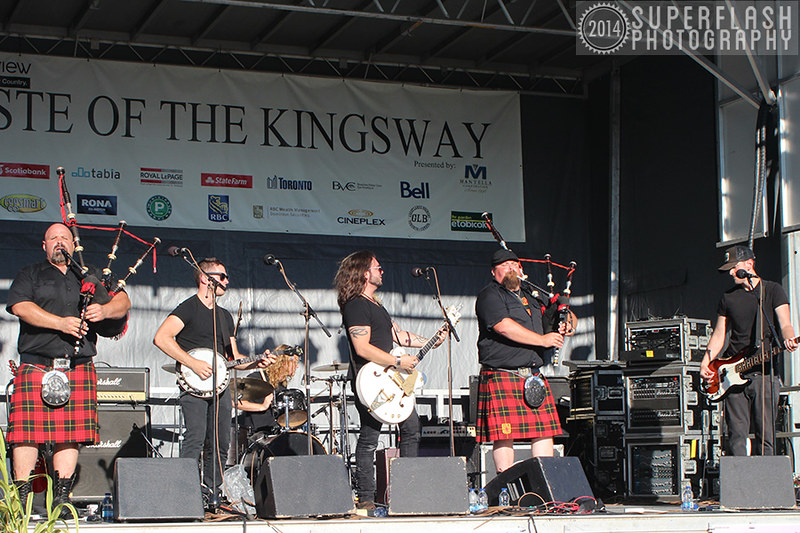
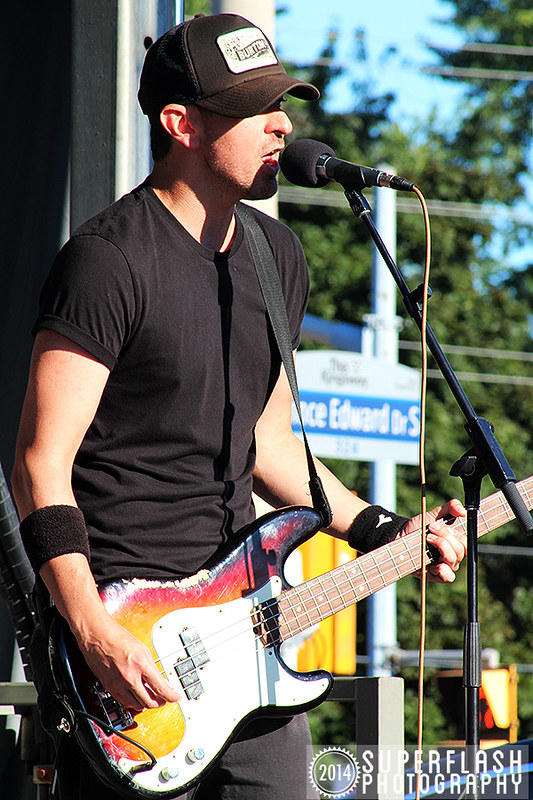
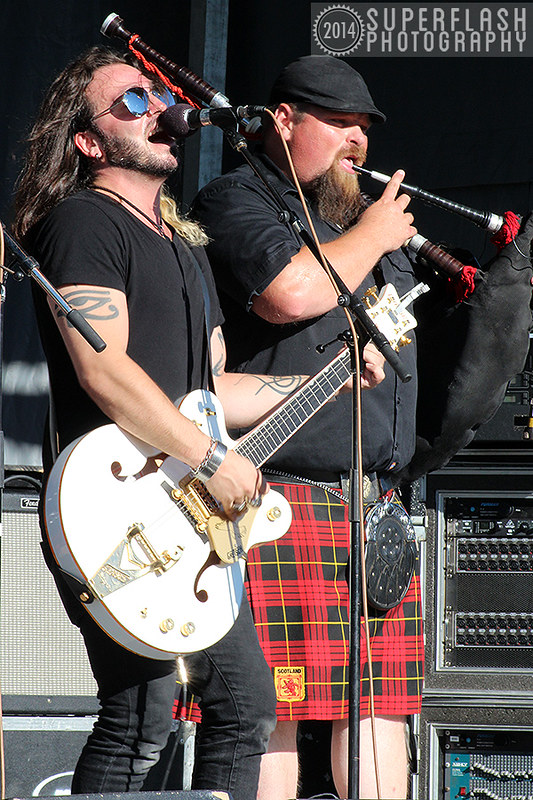
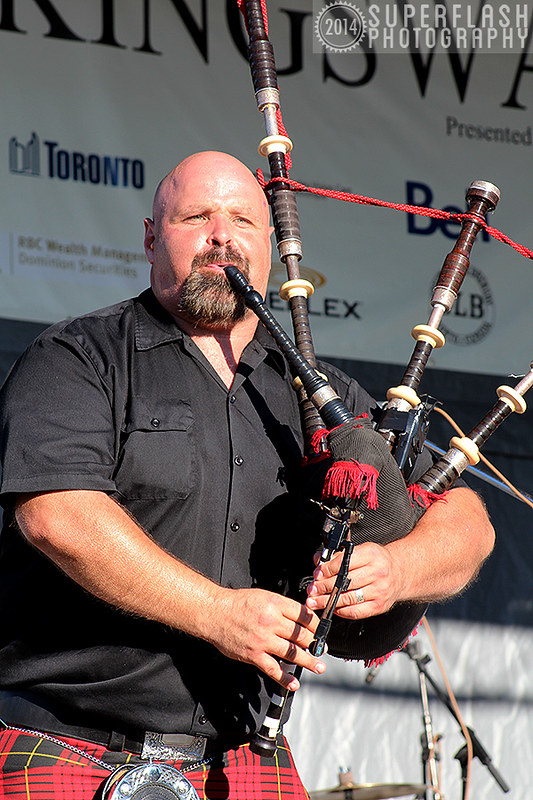
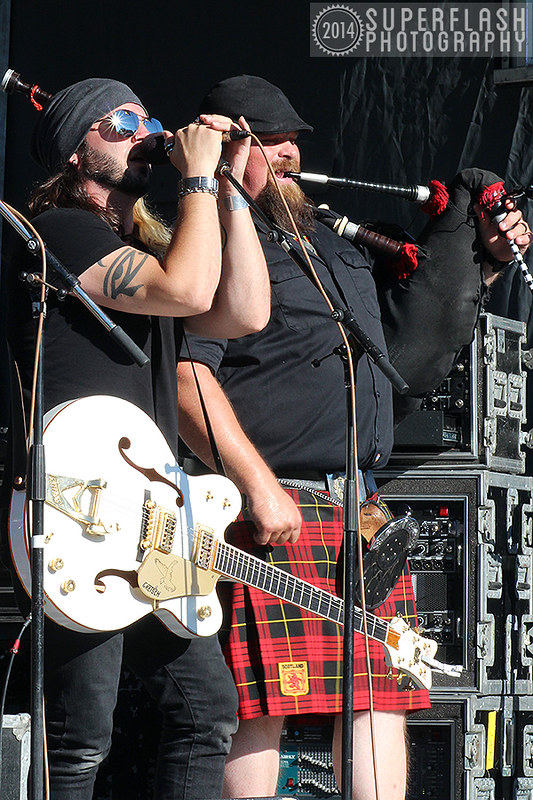
Mudmen at Taste of the Kingsway
A few weeks ago, I had the chance to see one of my favourite bands from my university days, The Mudmen, at the Taste of the Kingsway street festival in Toronto. The festival shuts down part of Bloor Street for a full weekend and features great food and music. It was an awesome day to spend some time taking in live tunes.


Saturday, 30 August 2014
30% off prints + free shipping - this weekend only
Check out my gallery at http://superflash.imagekind.com/ and discover something you love today! Imagekind is a great site that allows you to buy a print in a number of different sizes and styles. Want a plain print? A framed print? A canvas? They have it all!
Subscribe to:
Posts (Atom)